

After the last post, my friend Thomas Fuchs asked me if I might do a little service journalism:
@tbridge Could you write a step-by-step guide for setting up ubiquiti (1 AP), a router and the cloud thing for newbs? 🙂
— Thomas Fuchs (@thomasfuchs) November 22, 2016
//platform.twitter.com/widgets.js
So I toddled off to Amazon, and picked up a UniFi CloudKey ($79 or so), and a UniFi PRO AC access point ($130 or so) for delivery. I already have a router here at the house (Kerio Control Box, and a small POE Switch (Netgear GS110TP, $110 today). I won’t be covering the Ubiquiti Security Appliance ($110) or Ubiquiti 8-port UniFi Switch ($200) setup in this piece, though I’ll be ordering ones to play with for a future piece.
Why a CloudKey At All?
Ubiquiti Networks are designed to work with a controller of some kind. This can be a downloaded application that runs on a computer you already have, or be configured to run on an Amazon Web Services t2.micro instance (free for a year, $150/yr after that), but the easiest way to have a small dedicated appliance that’s ready to go at the first moment is the CloudKey, a small appliance, slightly longer, but slightly narrower, than a Raspberry Pi.
The CloudKey is your dedicated controller for your network, be it just an AP, or an AP and a switch, or a couple APs, a switch or two, and a security gateway.
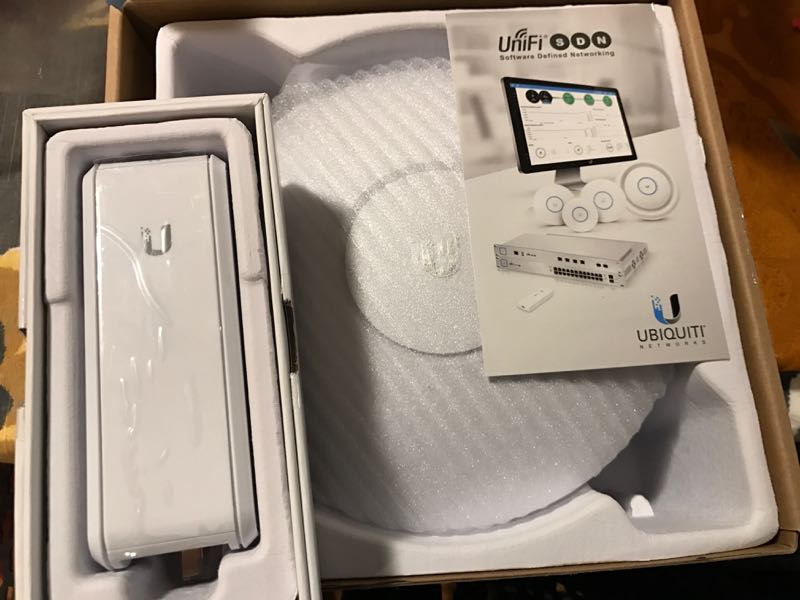
What’s Included
Since Amazon is the world’s most efficient shipping operation, everything showed up in one medium-sized box. The Cloud Key and the PRO AC each come with (almost) everything you need to make this all go.
CloudKey
- CloudKey Appliance
- Ethernet Cable
- Memory Card
UAC Pro
- UAC Pro AP
- Mounting Kit
- POE Injector
- Cover
This is almost everything you need to make a go of it. What’s missing? Well, if you lack a POE switch, you need a 5V/1A Micro USB power source for the CloudKey. And, for the UAC Pro, you’re going to need one Ethernet cable if you have a POE switch, and two if you just have a standard switch. So, plan ahead, and if you’re not using a POE switch, stock your supply kit accordingly.
Setup is a two-part process: CloudKey first, then Network.
CloudKey Setup
Open the box, and you’ll see there’s three things in there, save the manual: The appliance itself, a stubby 6″ Ethernet cable, and a Micro SD card.
Slide the Micro SD card into the rear of the device, taking careful note of the pictogram on the device to line it up properly. Once you’ve got the card in place, plug in the ethernet cable to the device, then into your switch. If you’re flying without a POE switch, plug in the Micro USB cable.
This will boot the device, and you’ll see a white light on the center of the CloudKey as it starts up.
The next step requires access to your router, or the installation of their Device Discovery Tool. Once you’ve determined the IP address of your CloudKey, visit that address in a browser. They recommend Google Chrome, or Mozilla Firefox, but my experience says Safari for macOS and iOS both work just fine.

This is the initial screen for the CloudKey. We’re going to start on the bottom half, Configure Your UniFi CloudKey.
The CloudKey will walk you through initial setup. You login with the ubnt : root combination of username and password, and it will take you through the rest of the easy steps where you set your locality, an administrator password, and the rest. Once you’ve gotten to the main interface, you’ll want to check to make sure that your CloudKey is up to date. Mine shipped with 0.4.3, and 0.5.5 is current as of the authoring of this post.

I found that once I upgraded the firmware, I still got a “Hey, turn the device back on!” message, for the first two refreshes of the admin page. That did go away eventually.
Ubiquiti Network Setup
Once you’ve got a password for the CloudKey and it’s been setup and provisioned, it’s time to start working on the network itself. Plugin the UAC Pro if you haven’t already, and make sure the LED in the main ring activates.
Go back to the CloudKey address, and this time, instead of setting up the CloudKey, you’re going to want to setup the Network itself, the top option.
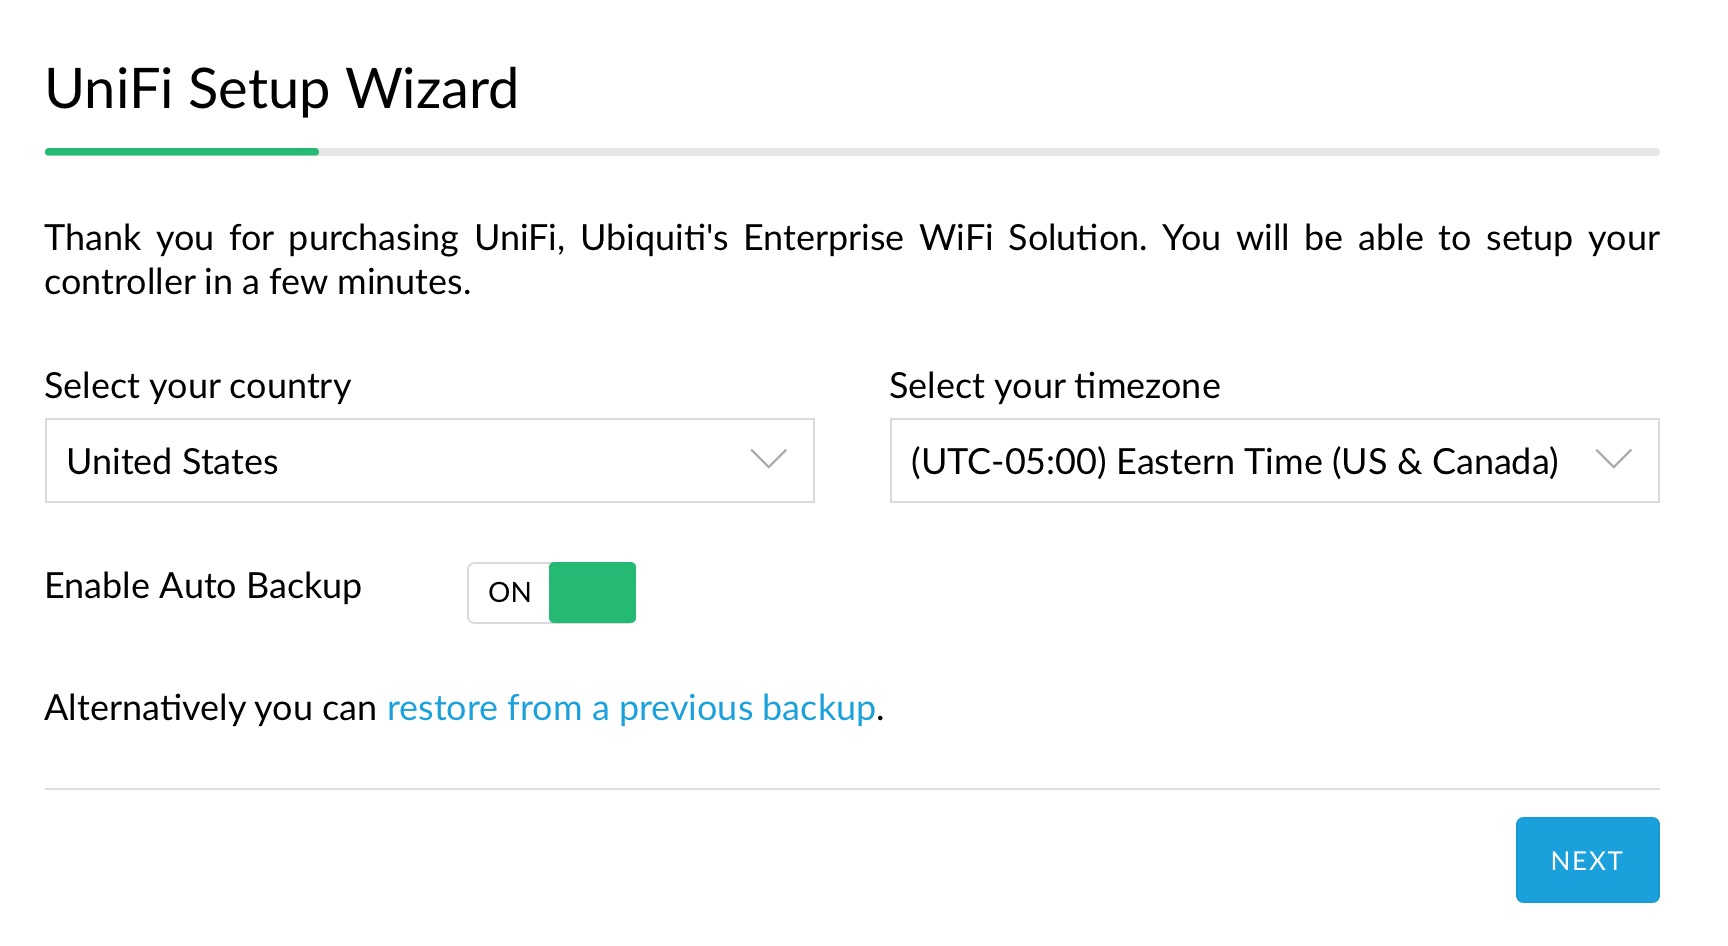
First up, Location & Timezone. This one’s easy.
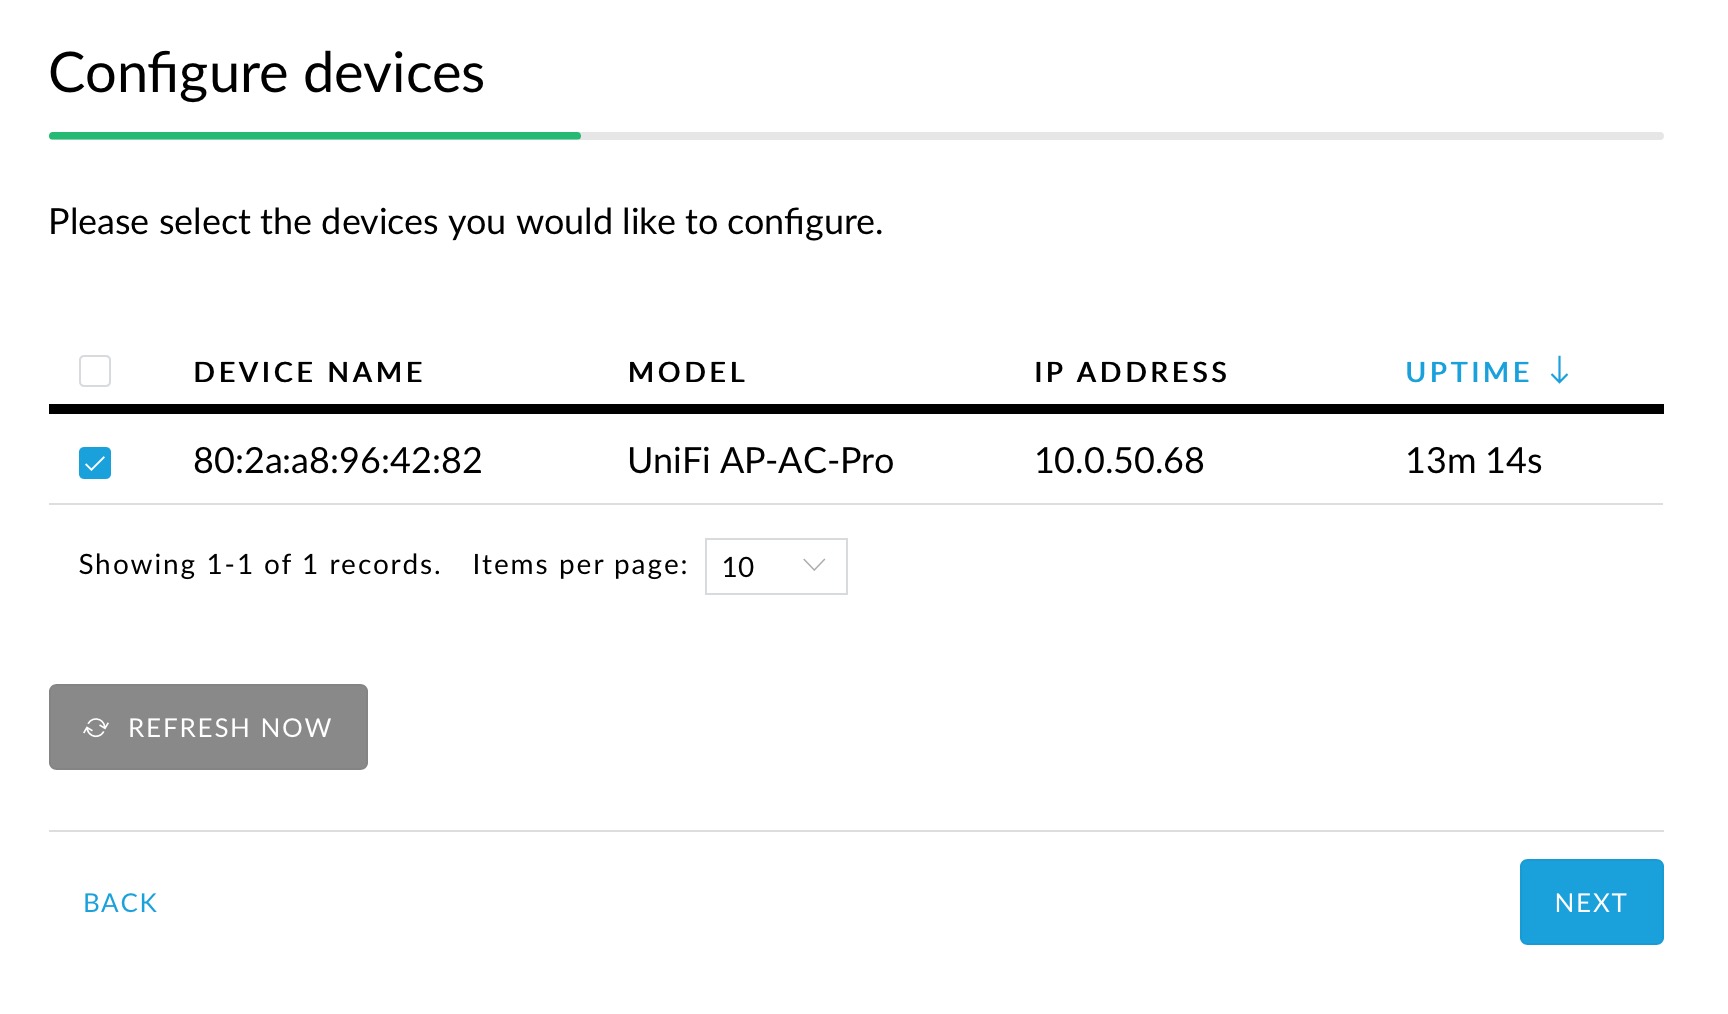
You’ll now see the UAC Pro and you’ll want to continue. Check the box next to your AP, and click Next.
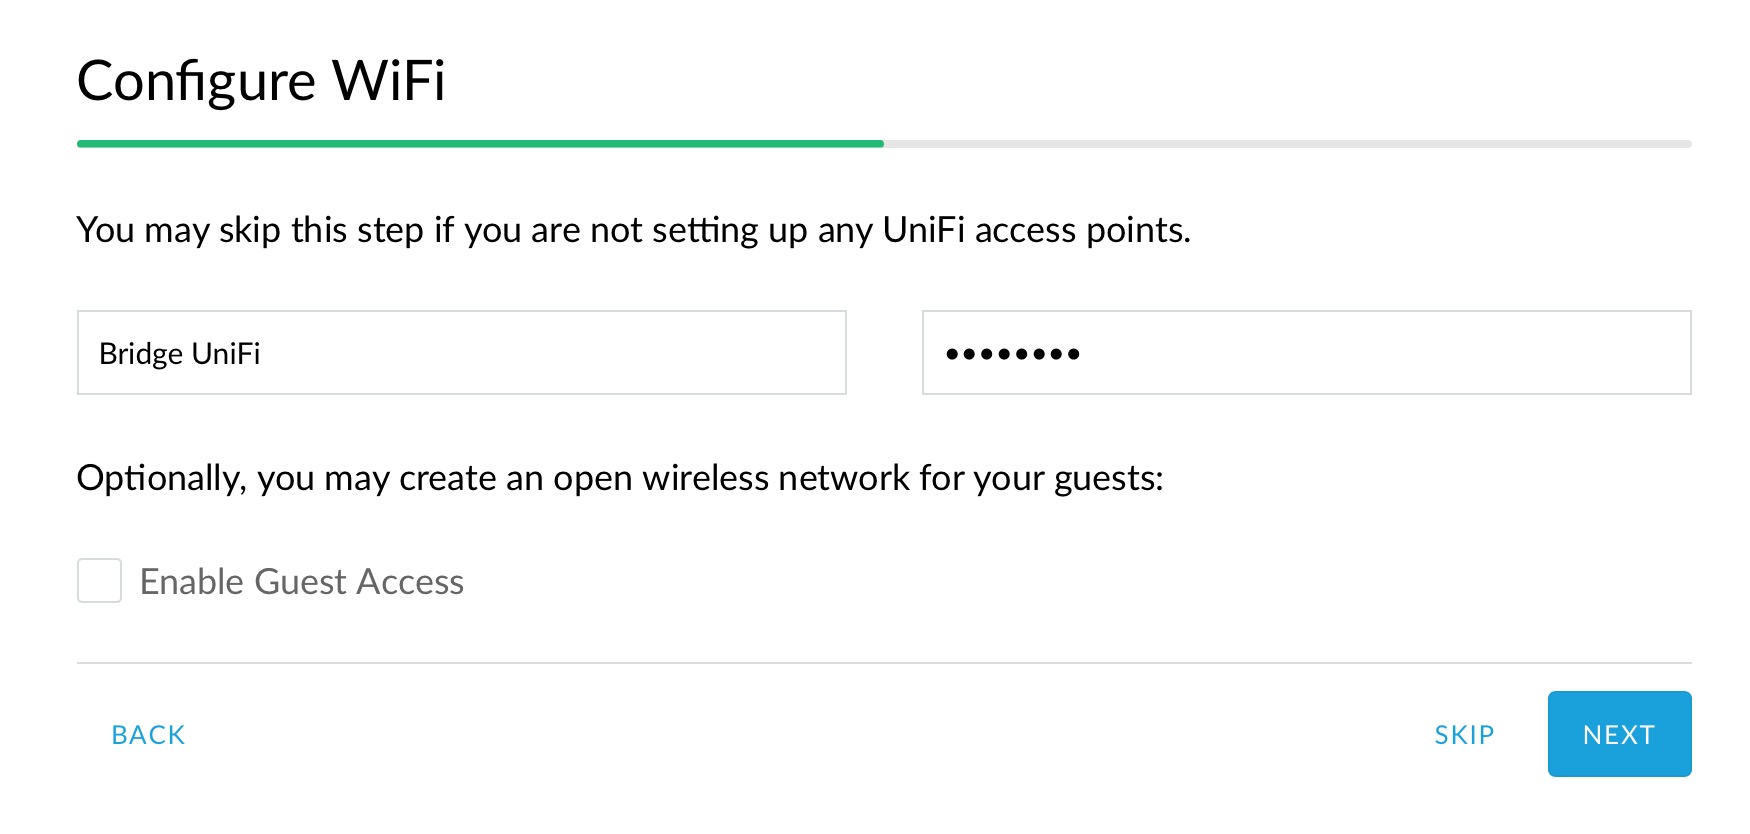
Here’s where you setup your initial network name (the Secure SSID) and password (the Security Key) for your Wi-Fi network.
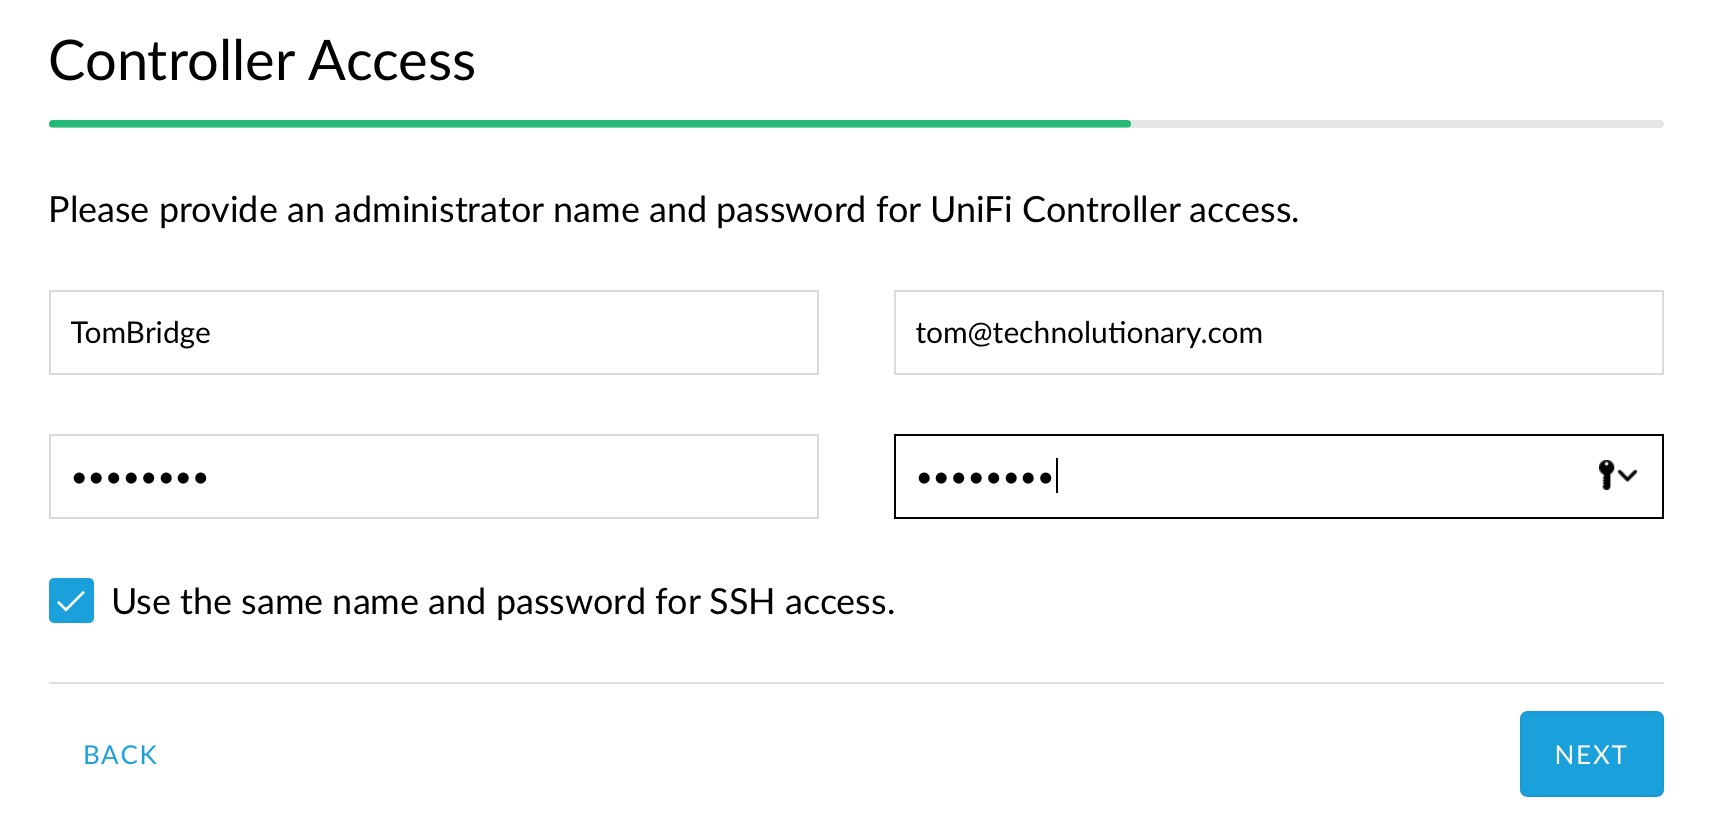
Then setup your Controller username (different from the CloudKey admin!) and password.
Last up, you have to setup your Ubiquiti account. If you haven’t yet, you can setup a Ubiquiti account before starting, otherwise, it’ll guide you through that process as well. This is what you can tie your whole chain together with – Security Appliance, Switches, APs and CloudKey.
That’s the basics of the wireless network configuration. There’s more control available, though. By default, the UAC Pro uses 20MHz channels in 2.4GHz and 40MHz channels in 5GHz. The sidebar of the main controller view will let you alter the radio controls of the APs. Select the Device, and click the Configuration heading.
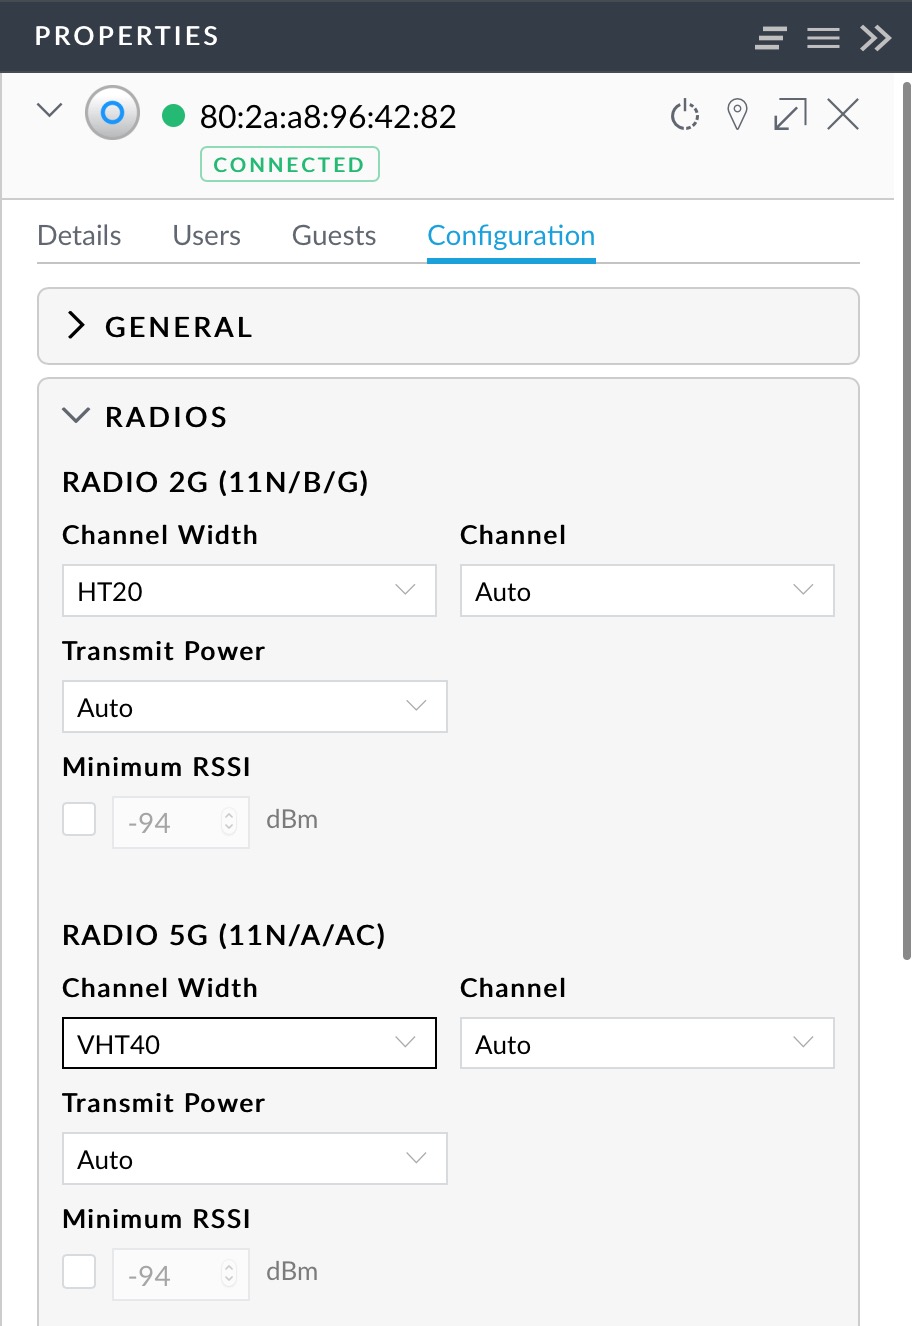
Here, you can select the channelization of each radio, as well as the channel width and broadcasting power. You can enforce Airtime Fairness, if you’re worried about device dominance, or use Band Steering to force your devices to use 5GHz as much as possible. You can also configure your device’s IP information here, give the AP a specific name.
You can also setup basic maps of your APs using the Maps section and blueprints of your space. This will, if you have multiple APs, let you triangulate the location of devices, as well as map coverage areas and guesstimate signal strengths based on readings from each location. While no substitute for a proper survey, it’s a pretty good guess for getting started.
Next time: Setting up the Security Appliance and integrating the two.

Leave a comment