

Cryptographically-signed email is a complicated subject. There’s keys and certificates, there’s signing authorities, all of the wonderful PKI structures that allow us to communicate securely. Securely signed email is an easy way to indicate to other parties that you’re taking some precautions with your email that authenticates the sender in an end-to-end way. A typical free commercial certificate, say, from Comodo, will affirm that the original certificate creator can receive email at a given address. This allows you to sign outgoing emails, which wraps the message in a secure envelope that confirms that you are who you represented yourself to the certifying authority to be.
Generally, these certificates are commissioned on a desktop computer, like any Mac. You end up with a certificate stored in your Login keychain that Mail.app or Outlook use to sign your outgoing messages, or decrypt messages signed with your public certificate. If you open Keychain Access, select your Login Keychain, and then set it to filter by certificates, you will see your email signature.
If you want to sign email with your iPhone or iPad (and you do), you’ll need to move this certificate to your device in a way that your device will be able to work with it.
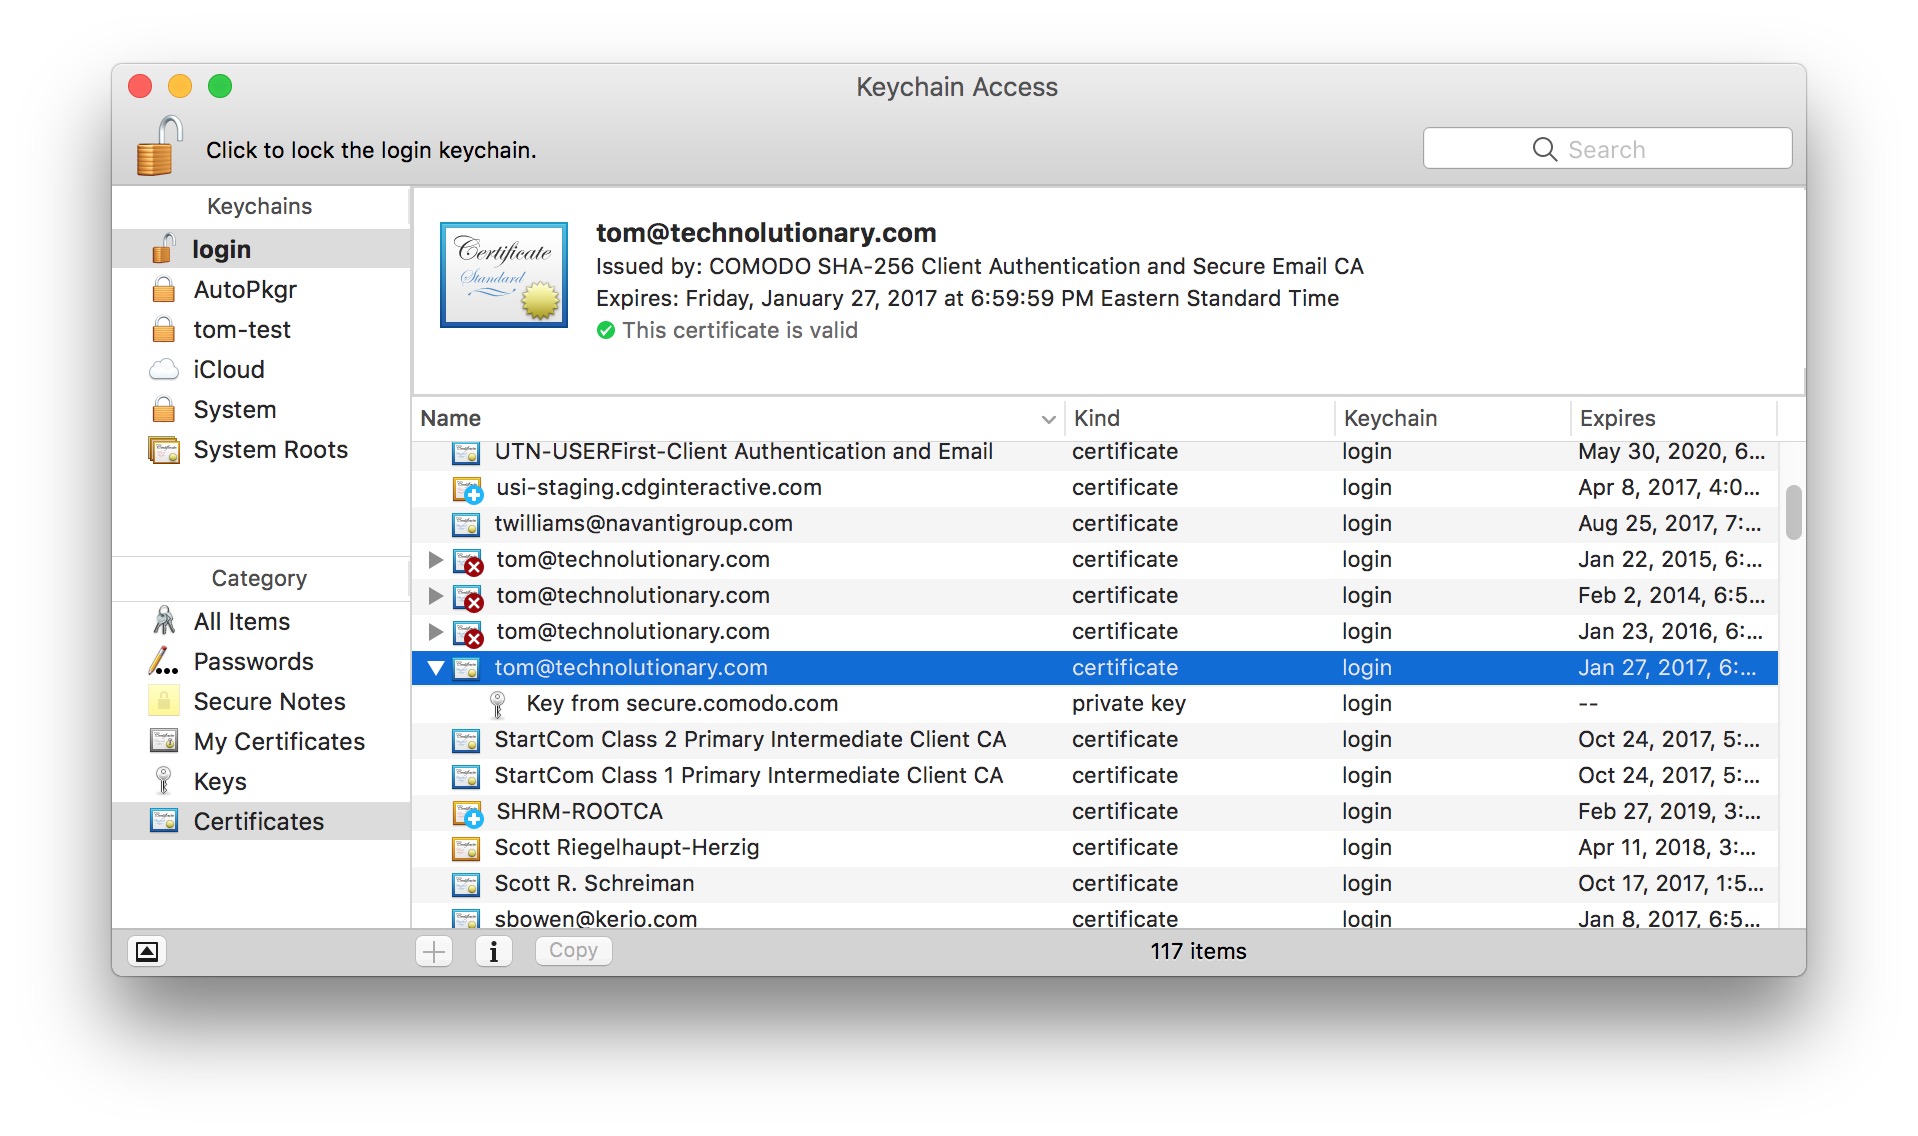
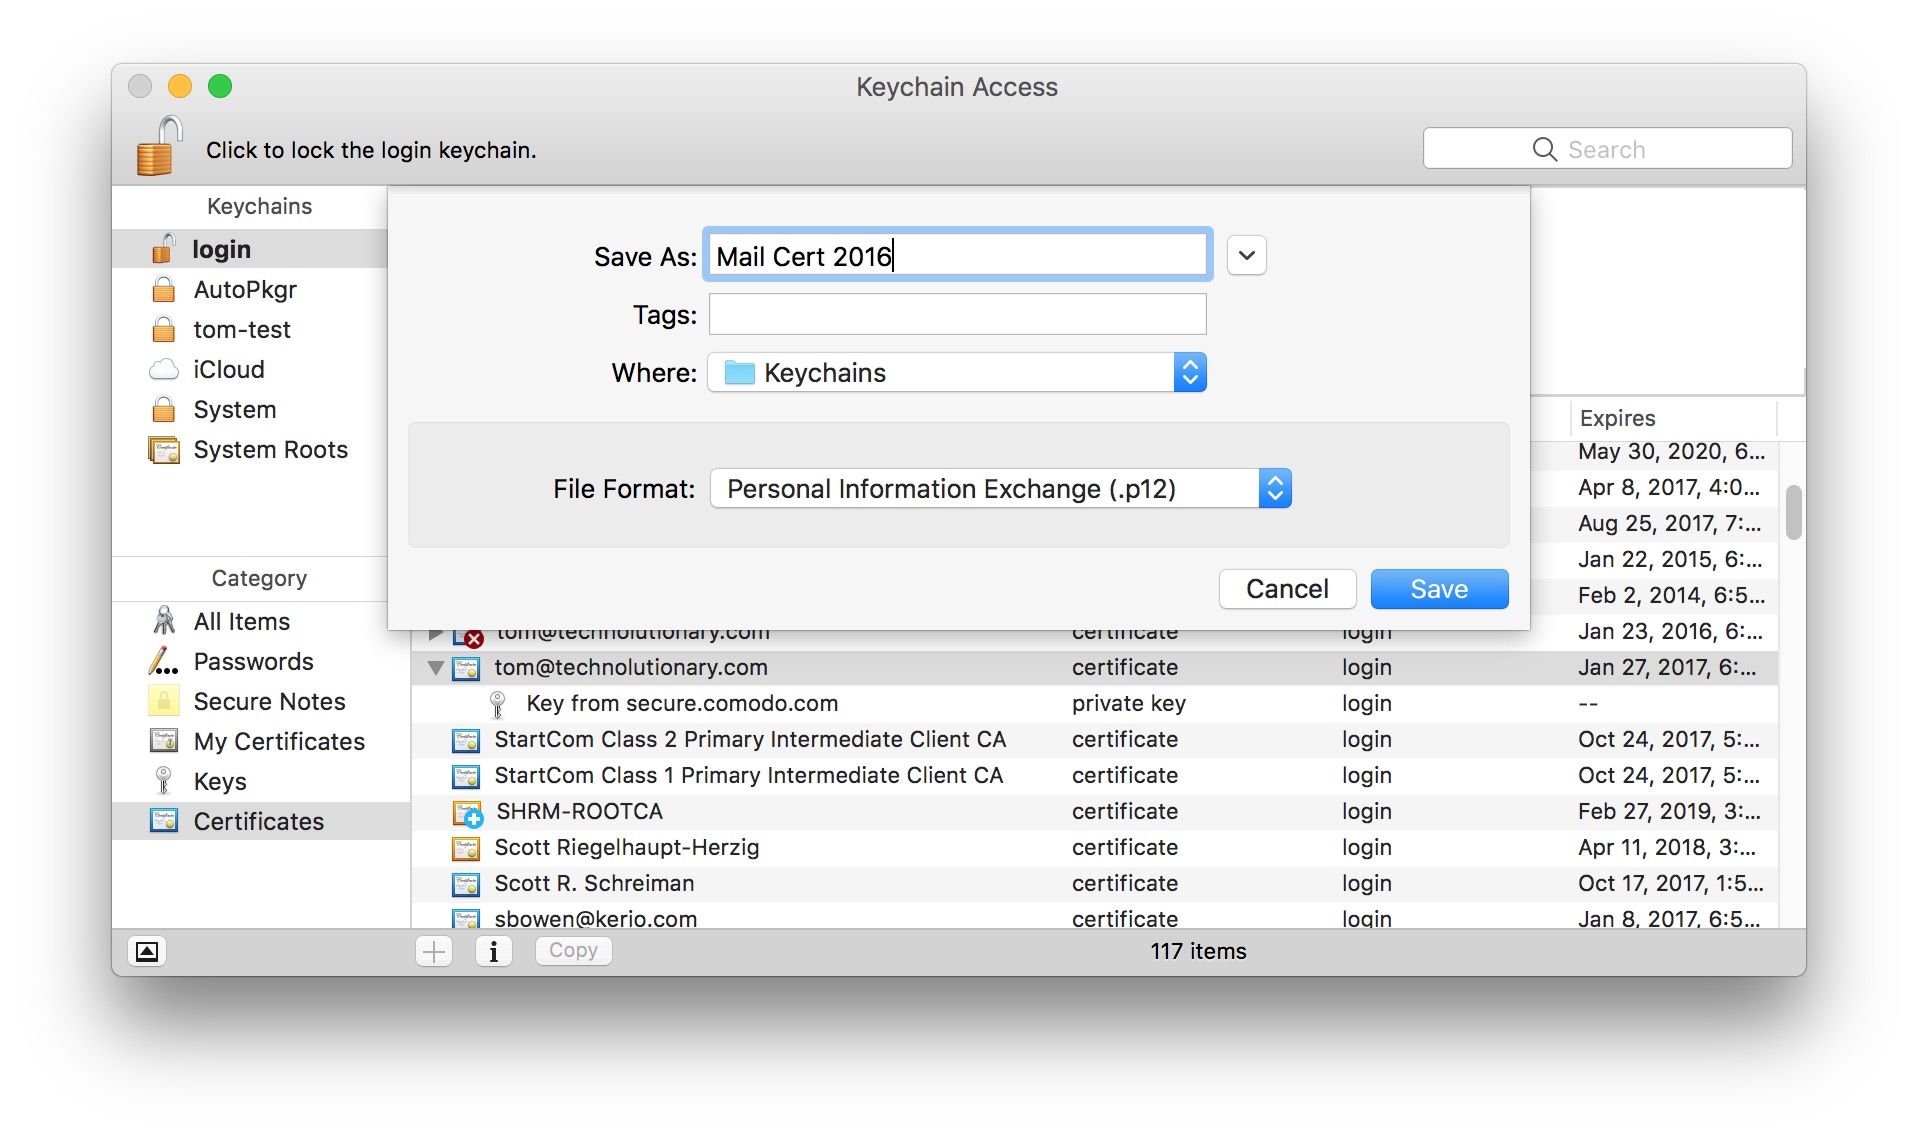
Normally, you might just drag your certificate out to the desktop and embed it in an MDM Profile, or something similar. Your certificate also contains a private key, and that is a critical element. The drag and drop method won’t work this time. What you need to do is export the certificate in .p12 format (also known as PCKS #12). To do this, right-click on the Certificate and select Export.

Pick a location for the file. I recommend the Desktop, since we’re going to be emailing this file.
You’ll be prompted to pick a password for this .p12 file. You’re going to need this when the certificate gets to the iOS device. This is what lets you securely move the certificate and private key together in a safe package.

Pick a password that you’ll remember and that isn’t just password. If your email is compromised, an attacker could take this .p12, and with suitable equipment, some good luck, and a super computing farm, sign email on your behalf, unless you revoke the certificate at the Certificate Authority. Note the password down carefully, you’ll need it in a moment.

You may be asked to allow access to the private key by the system. You’ll need to allow access in order to export. I think this step might be unnecessary in most cases. If it doesn’t present, don’t worry about it.

Now, attach the .p12 file to an email that your device can receive. Now, what follows is instructions for use with the built-in Mail app on the iPhone. There may be ways to work with S/MIME in other mail clients, but this post will not cover them.
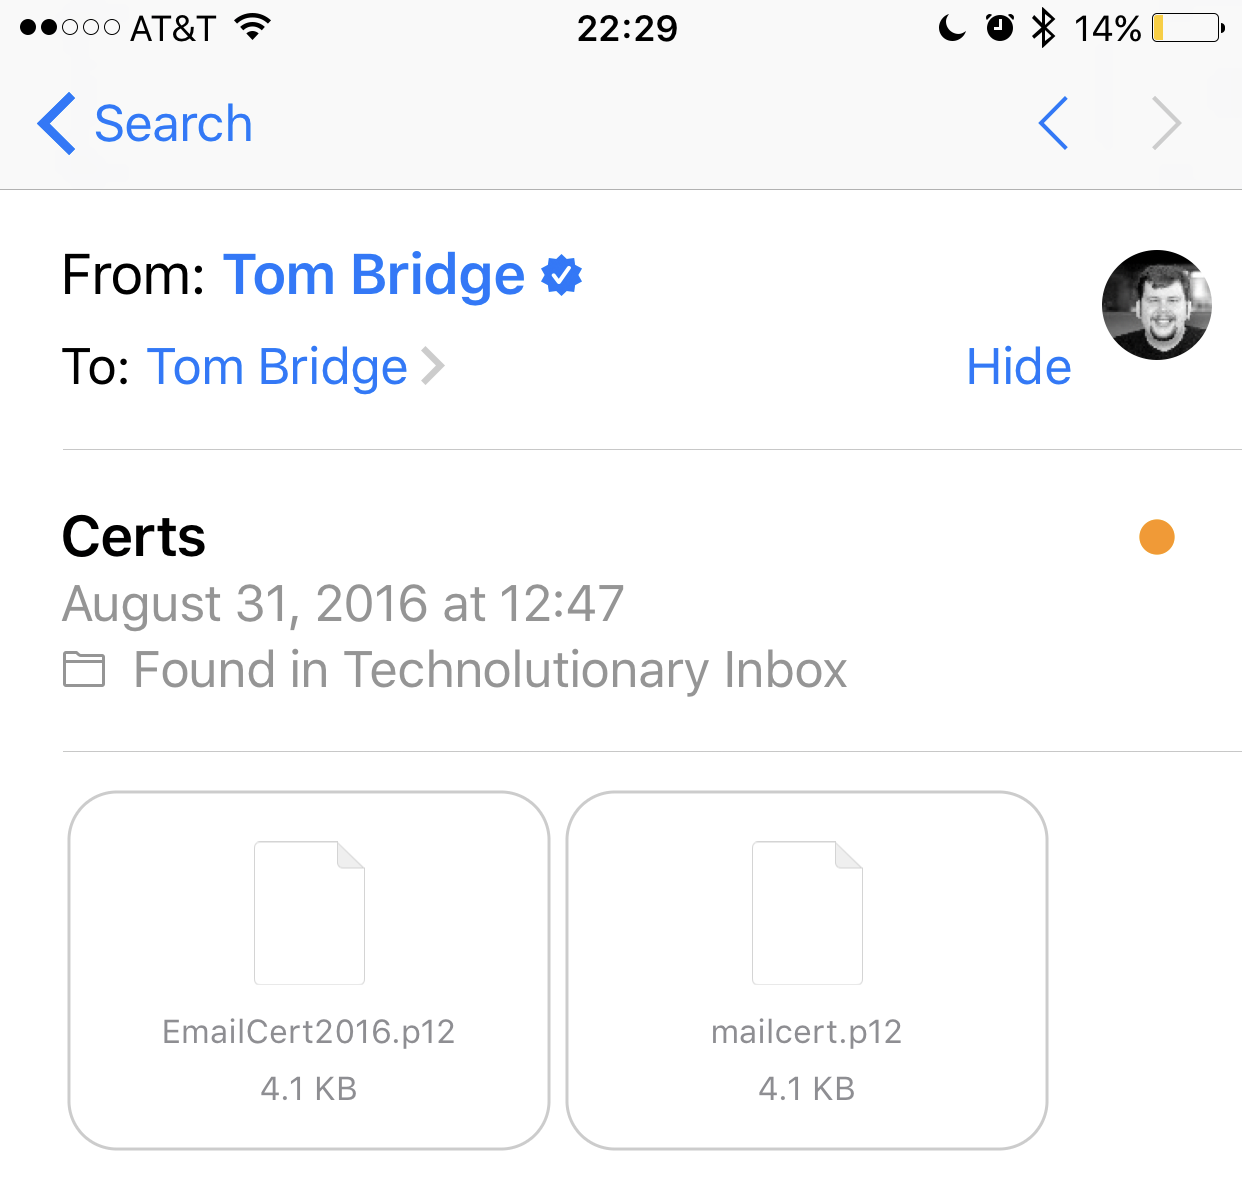
Once you have the .p12 in Mail on your iOS device, tap on the attachment to open it. The Settings app on your iOS device will now open and you’ll go through the standard profile installation process. If you have an iOS Device that is paired with an Apple Watch, you will get prompted to pick whether you want to install the certificate on your Watch or your iPhone. You want it on your iPhone.

Keep in mind – you aren’t working with a signed standard identity certificate, but that doesn’t mean the payload won’t certify up the trust chain.
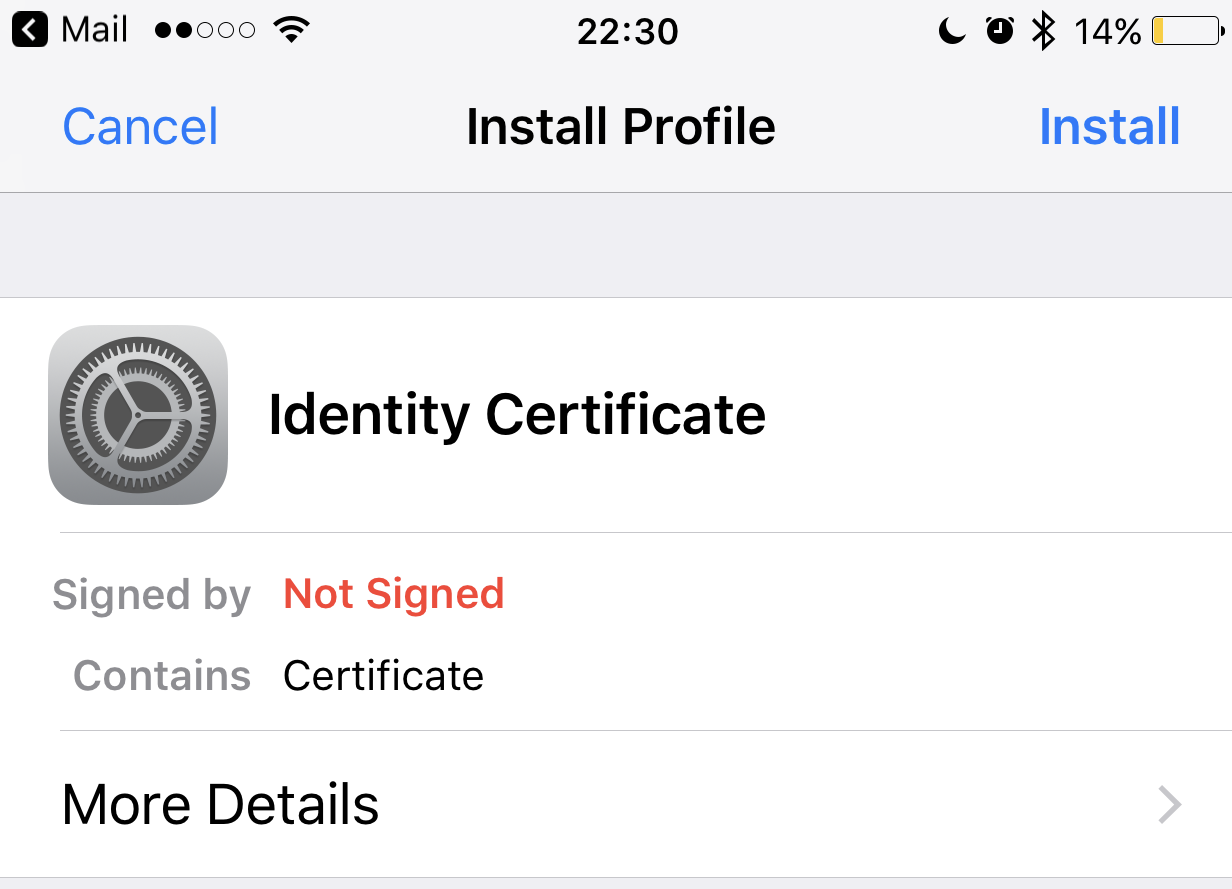
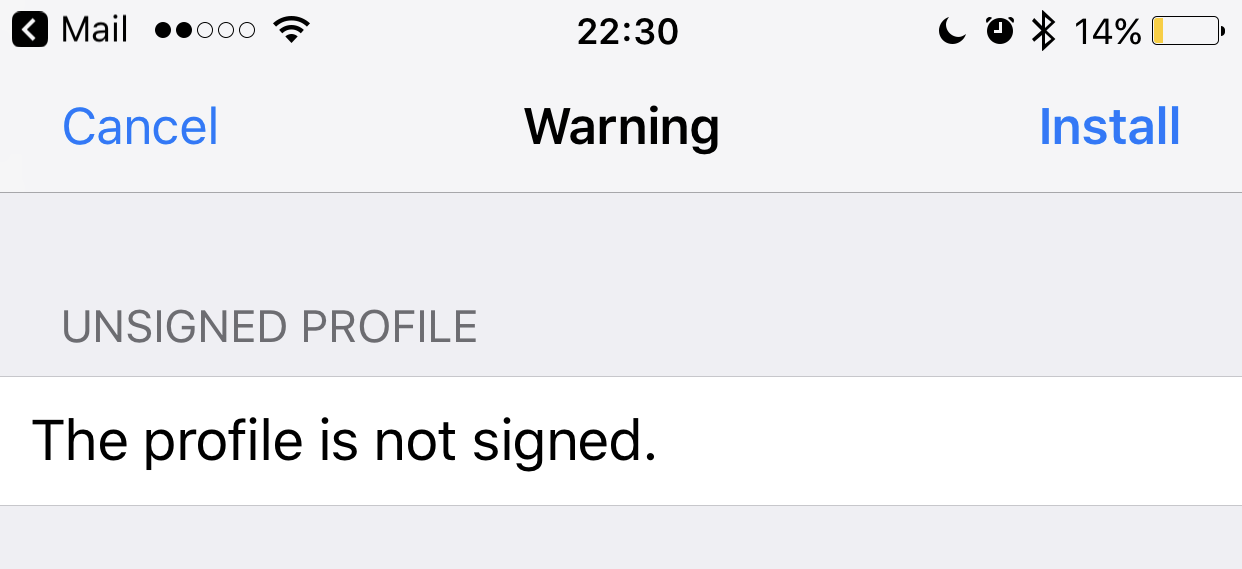
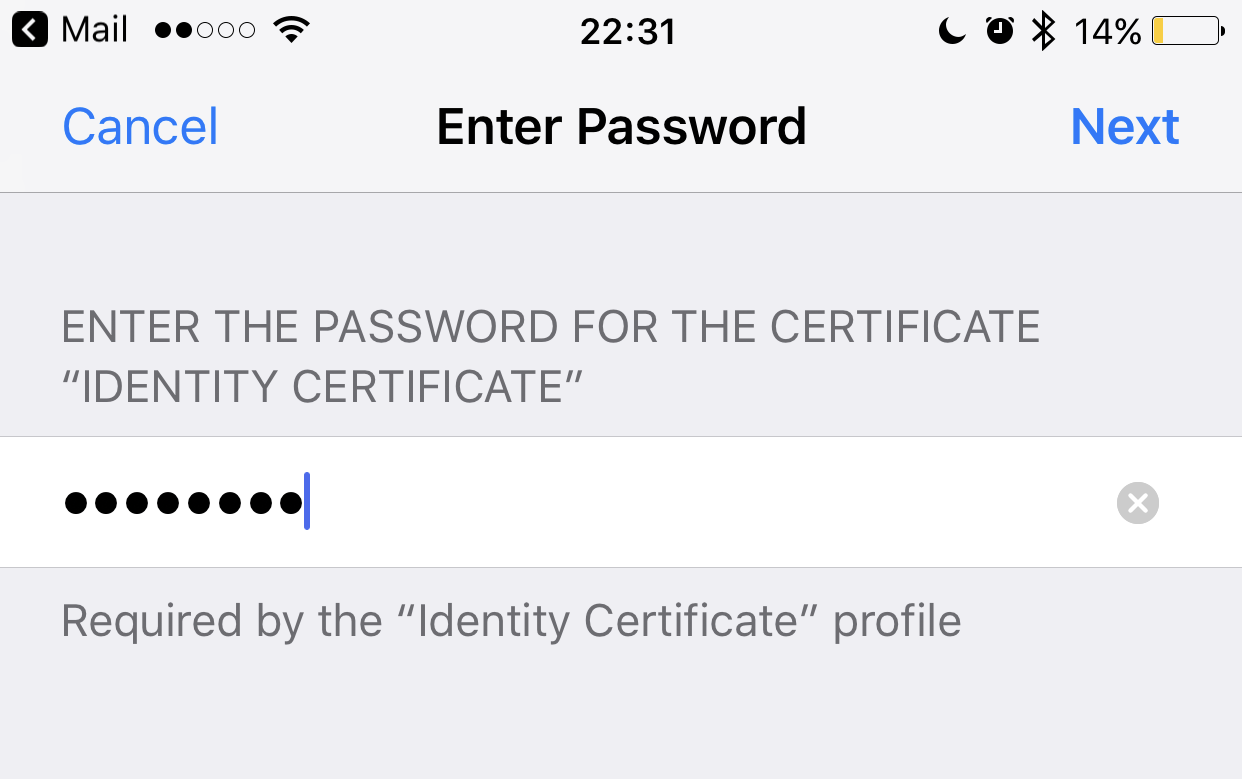
Accept these dialogs by tapping Install, and continue. You will now have to enter the password for the .p12 container that you wrapped around your certificate and private key. Enter it and tap Next when you’re ready.
Lastly, you’ll need to finalize the profile and confirm the install.

Your certificate is now resident on the iOS device, and it’s time to go turn on S/MIME in your Mail Account. Go to Mail Settings, and select your account, and then head to the Advanced Settings. Turn on S/MIME, and turn on the signing settings.
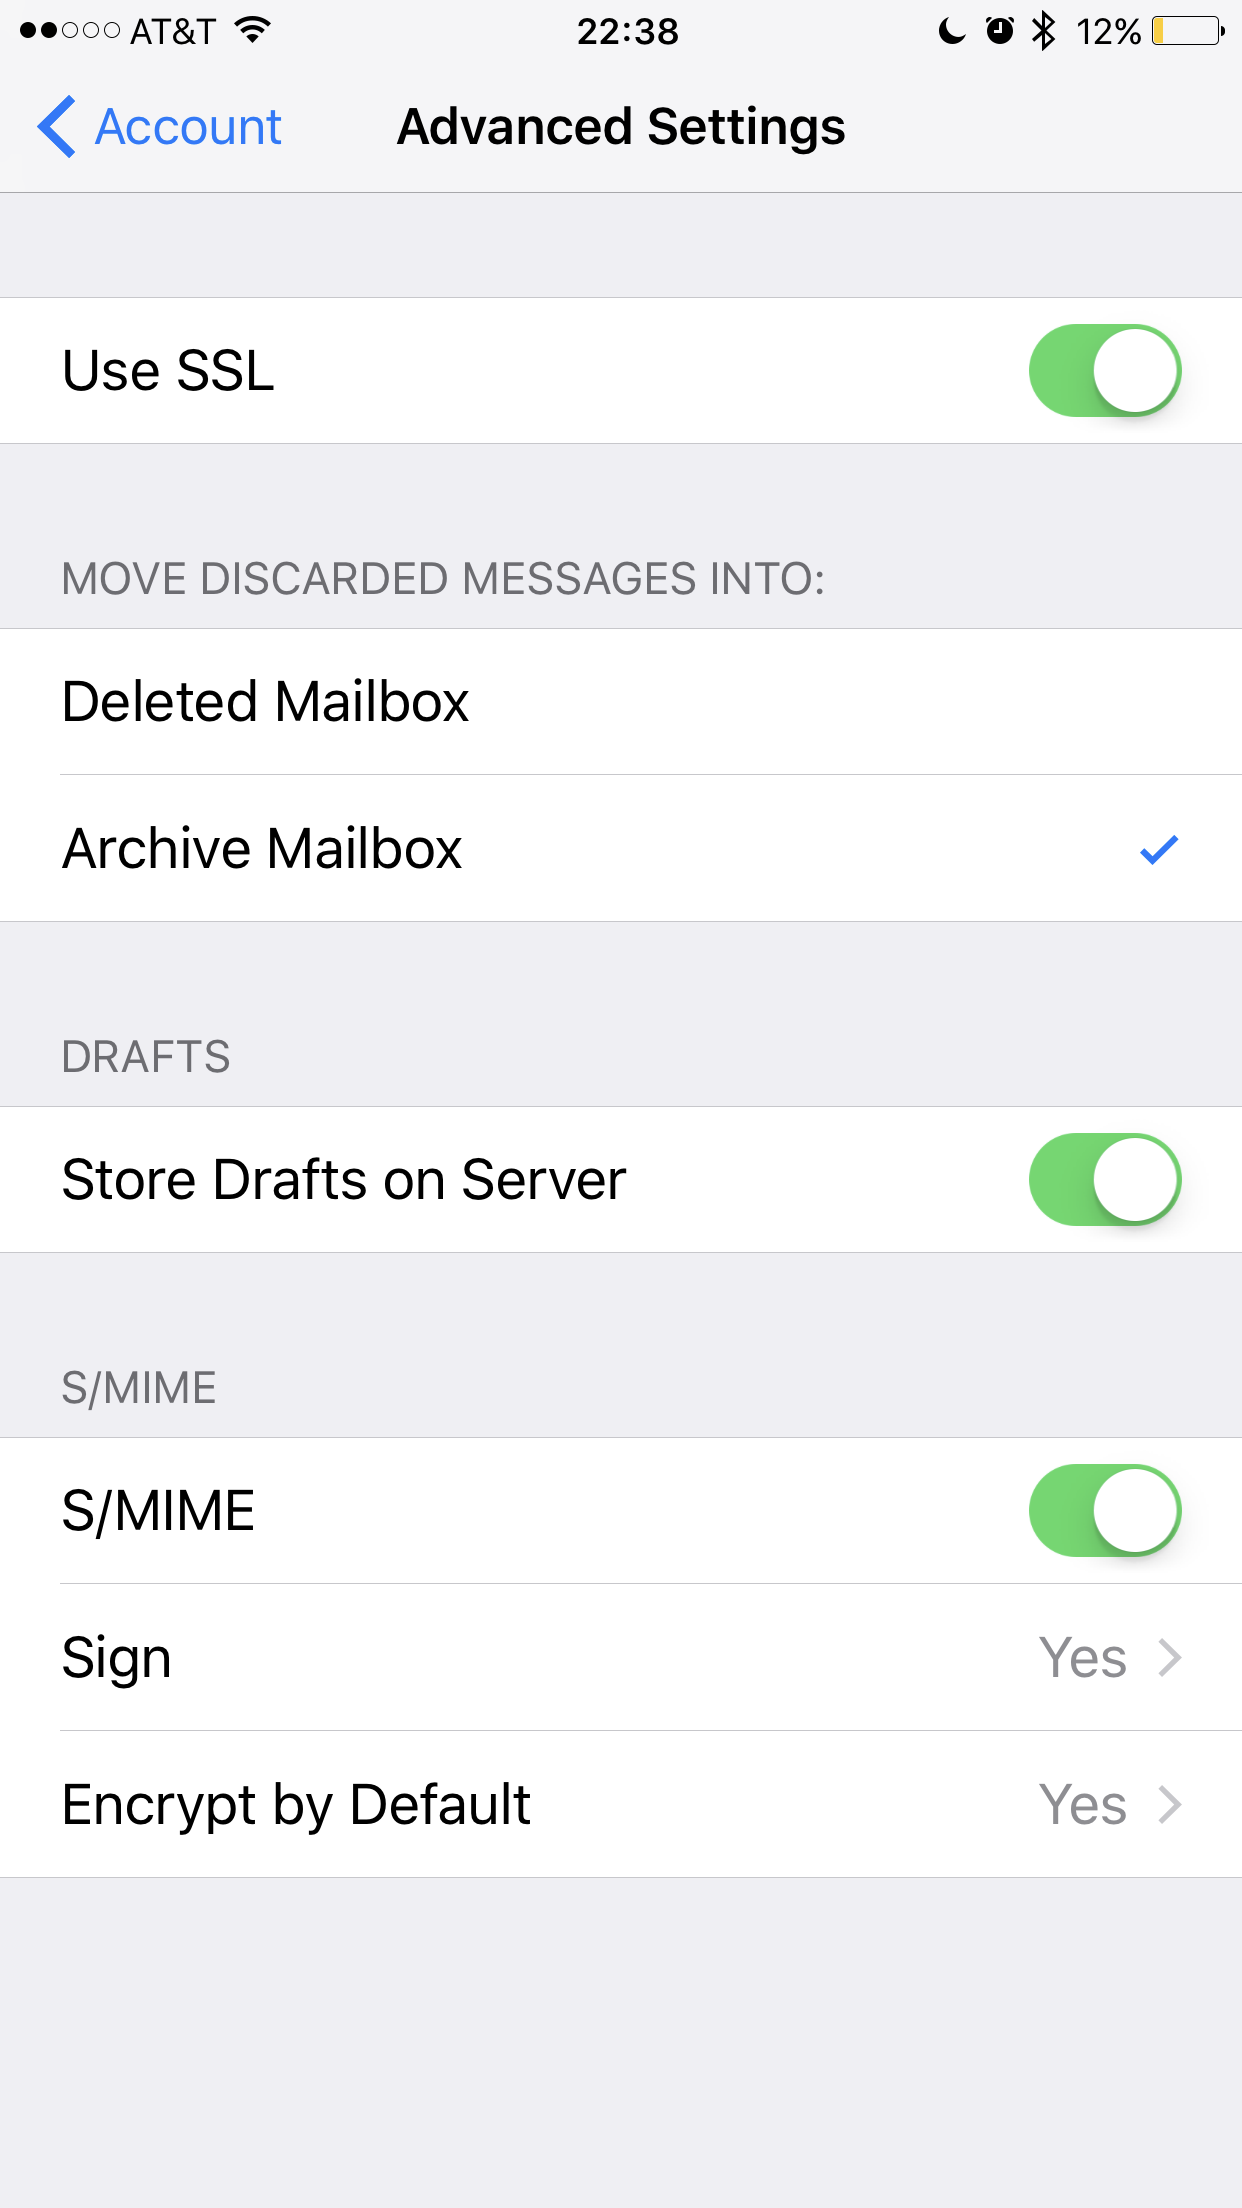
You can confirm that your identity is selected, or select which identity your device is using to sign messages, by tapping on Sign.

You can tap the i at the end of the line to review the signing identities that are configured for your account. If you start using S/MIME certificates, be ready to keep old expired certificates around in the event that you are not just signing messages, but encrypting them. Messages encrypted with your public certificate by other people will only be decrypted by that old, expired certificate and its private key.
If you want to review your S/MIME certificates, you can do so in the Profiles section of Settings. Tap on Settings, then General, then Profiles.

You can get detail on an individual certificate and see more information surrounding the certificate, which should be on your calendar.


Leave a comment